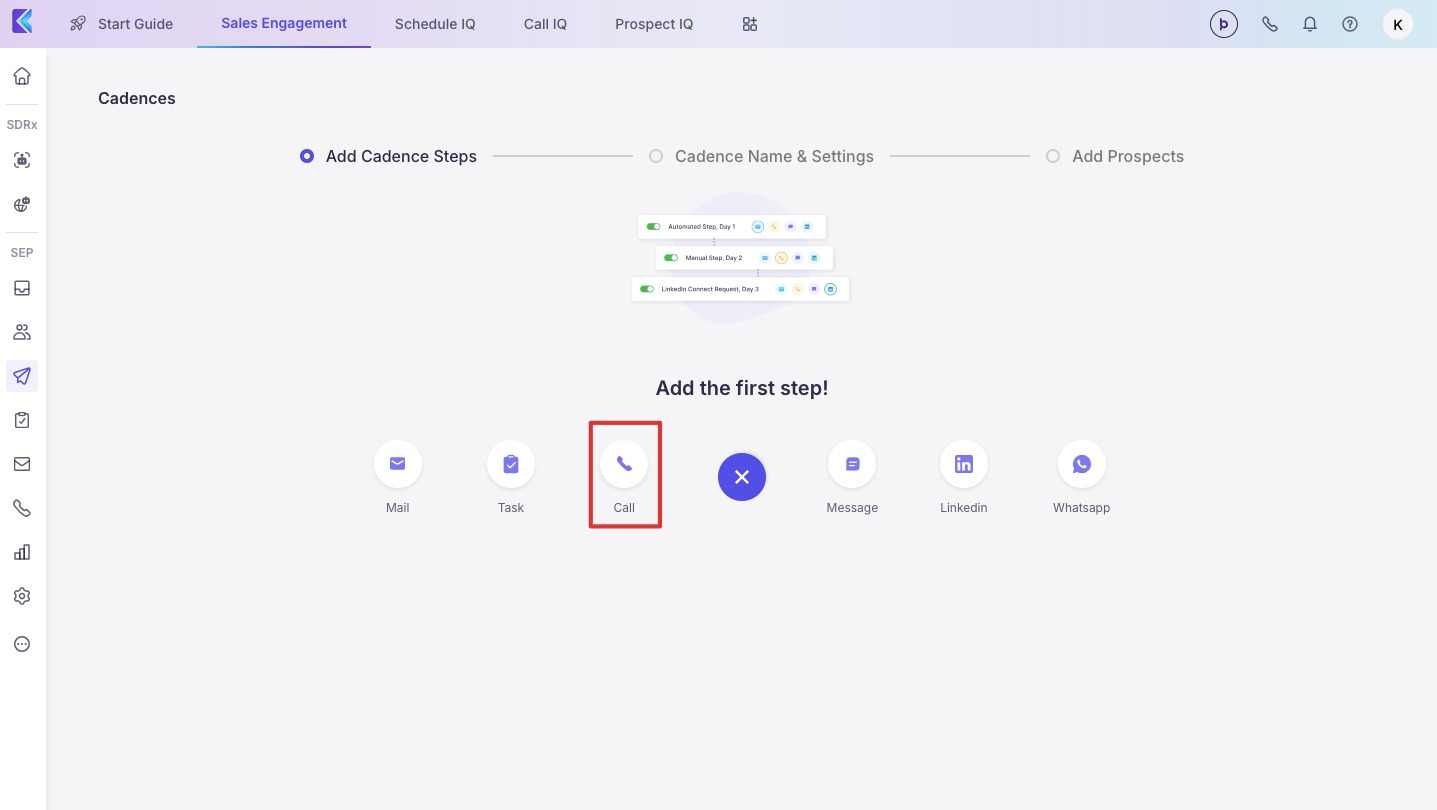
To begin, go to Cadences > Create Cadence. You can choose a step to be an Email, a Call, or a Task.
When you click on Add Email, you have two options.
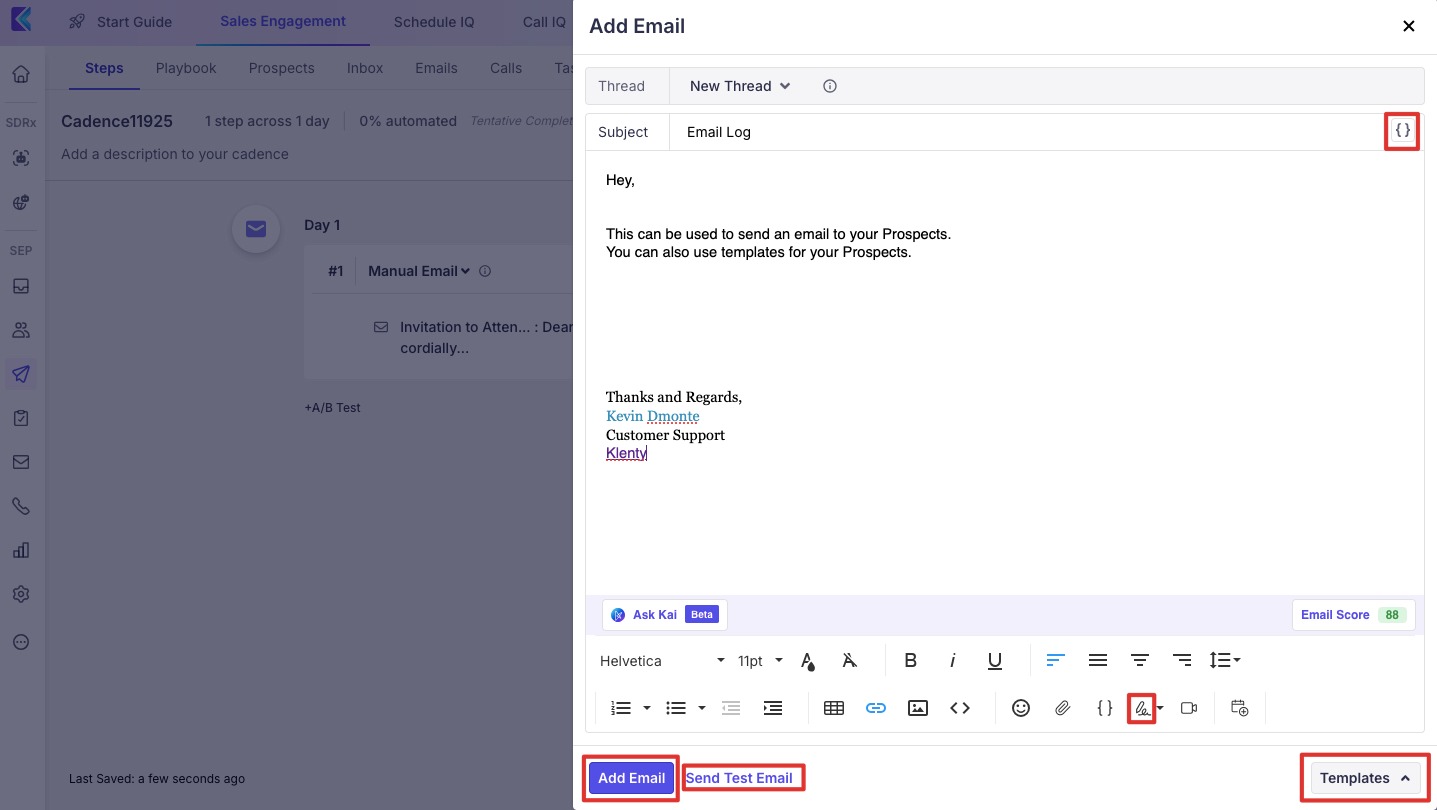
You can create a new template and save it to the cadence.
Add an Email Subject here and the body of your email.
To personalize the emails, you can use Placeholder Icon "{ }". For example, you can start your email with "Hi #{{FirstName}}" which will be automatically changed to reflect your prospect's first name when the email sends.
Now add the template to a Template Category, give it a name, and click on Save and Insert to Cadence.
You can also click on Use an Existing Template to retrieve templates you've created previously and select an existing template.
Once you select the template you want to use, you can modify it to suit your cadence if required, then click on Insert to Cadence.
You can also use the Pen Symbol to add your own signature when sending mails to Prospects.
You can add a task to keep track of jobs you want to perform outside Klenty. For example, find the prospect on LinkedIn, send a demo invite, and so on. Enter details of the Task in the Subject and text fields and click on Save.
You can schedule a call activity and place the calls directly from Klenty.
Follow-up steps
To add the next step in your cadence:
Click on the + button to the left to ‘Add New step’ to add another step in your cadence
Set the number of days you would like to wait before the next step is triggered
Follow the steps earlier to add an email to a cadence
You can add as many steps as you need.

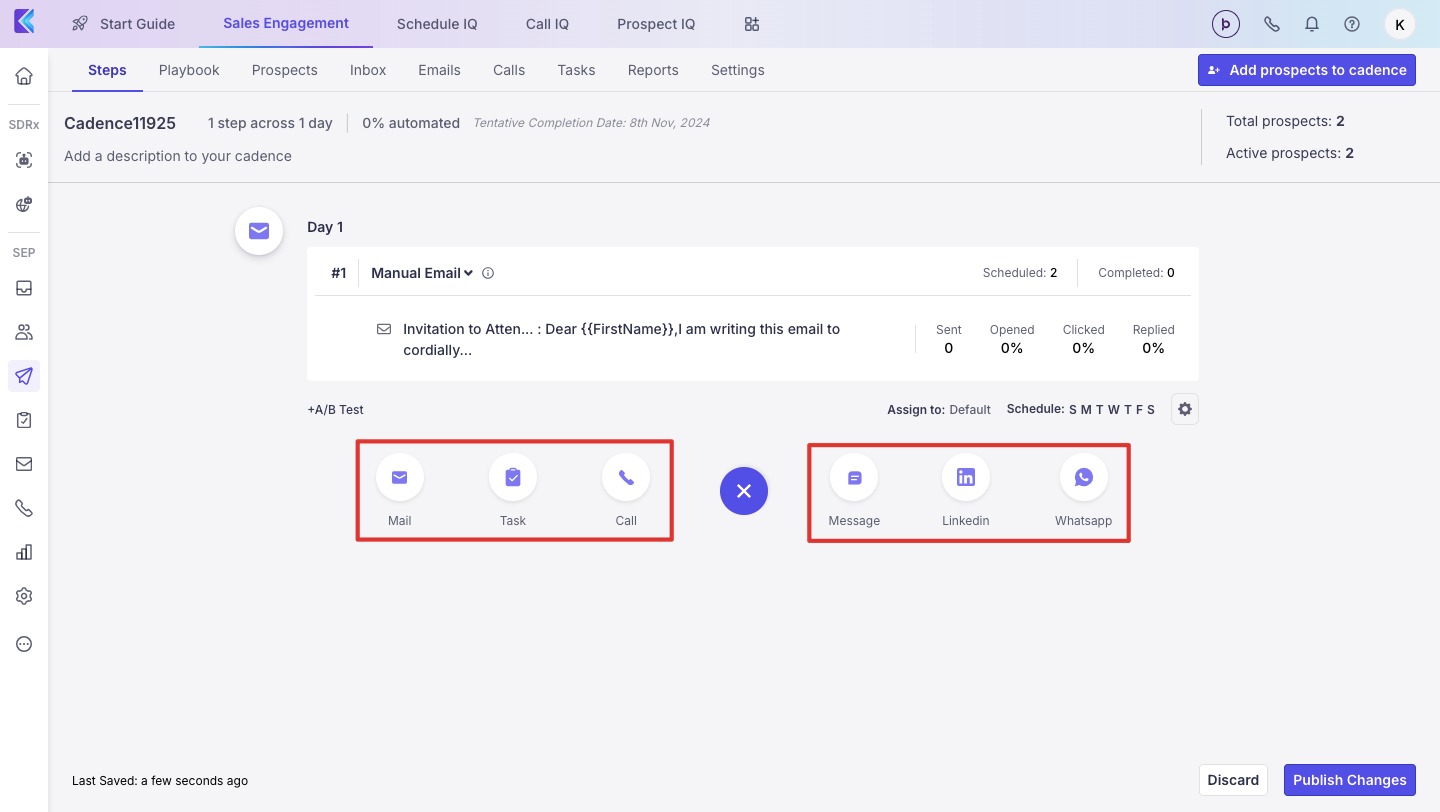
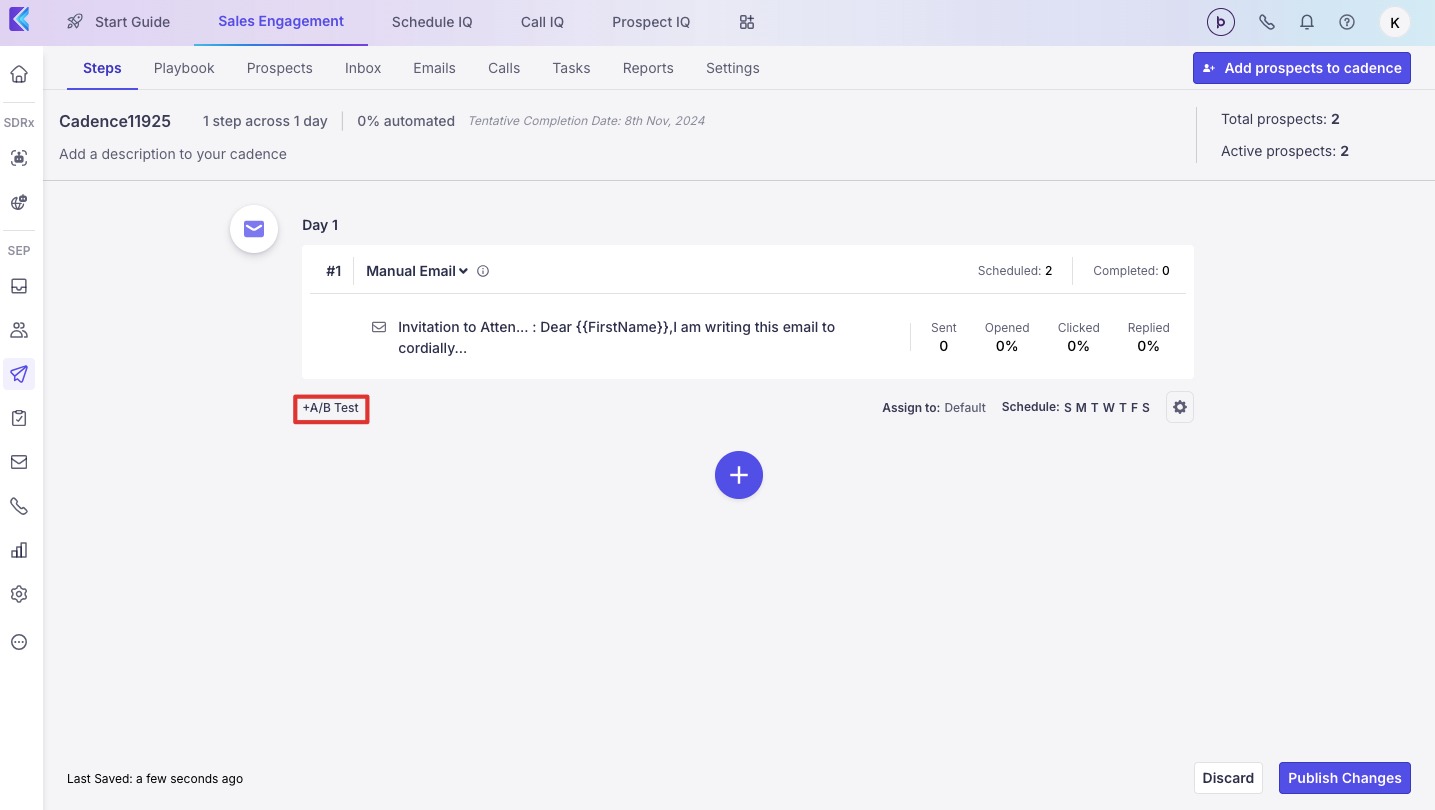
A/B testing
You can A/B test your emails at any step to see which option works better.
At the email step that you want to A/B test, after adding your first template, click on the A/B TEST button.
Select from Templates or create a new template and insert it into the cadence.
Now both options will be used when sending emails to prospects. Klenty will typically split the emails in a 50:50 ratio.
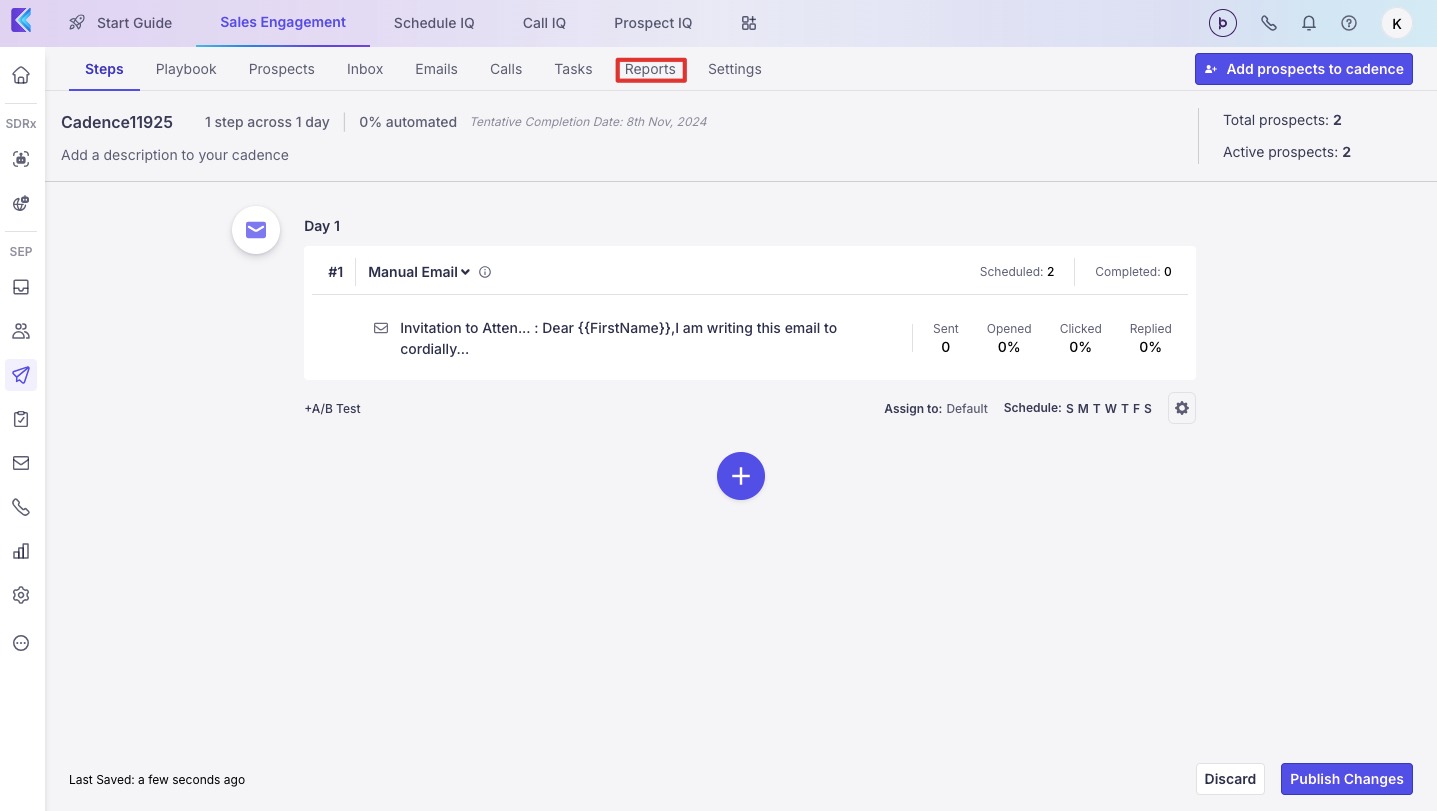
You can view Step Wise Metrics (in Cadence -> Reports) to see how each option is faring.
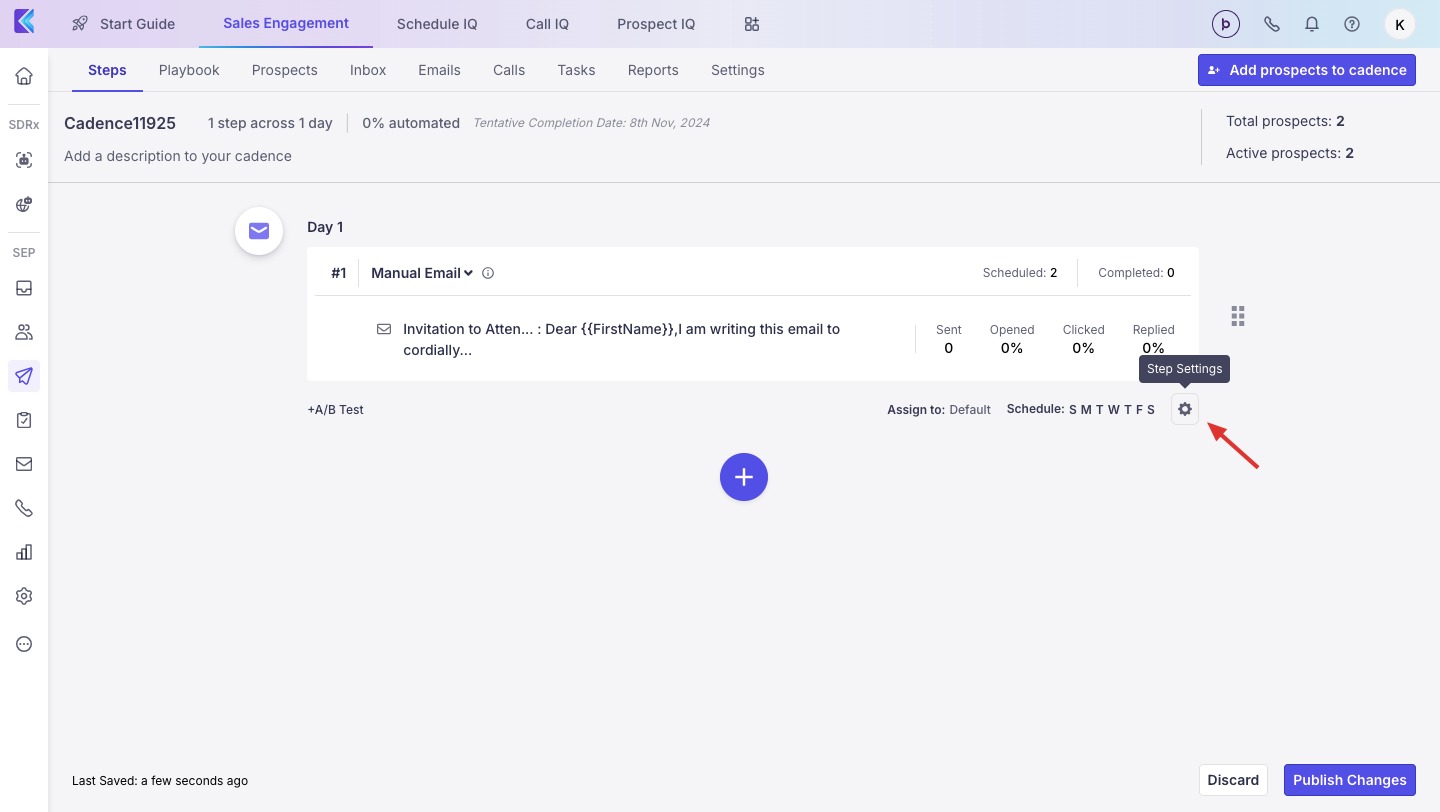
Settings
Stepwise settings - At each email step, you can click on the Step Settings button to manage the following settings.
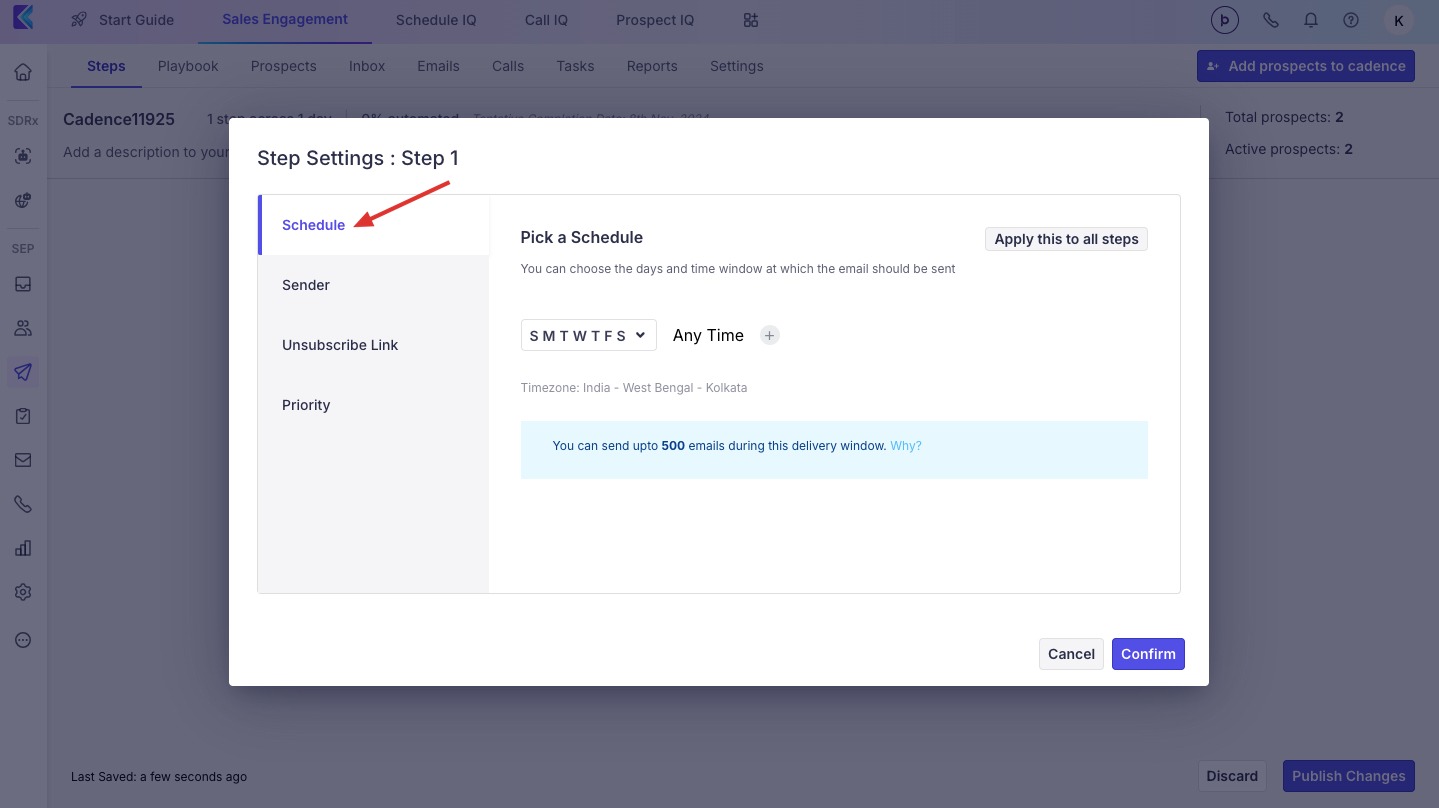
Schedule - You can choose the days that the emails will be sent on and unselect the days you'd like to skip. Additionally, you can schedule the time Klenty must send the emails in that step. We will reschedule any emails pending at the end of the window to the next day.
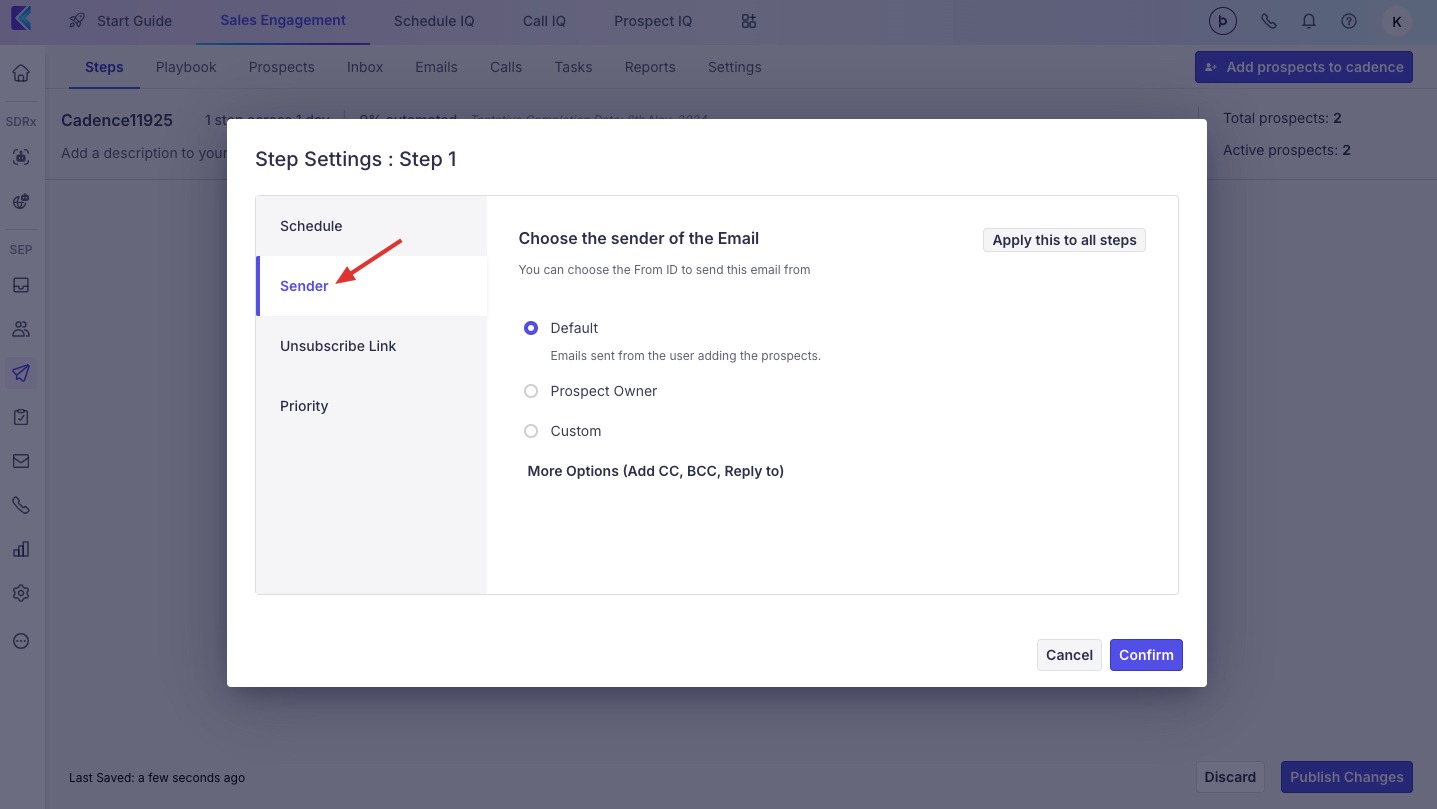
Sender – In this setting, you can choose an email address here.
Default - This picks up your email id.
Prospect Owner - The prospect owner's connected email id will be selected.
Custom - You can assign to your team members.
Manual Email ( Previously Approve before sending ) – Only for emails scheduled in the cadence after the first step; you can select this option to approve the emails before they are delivered.
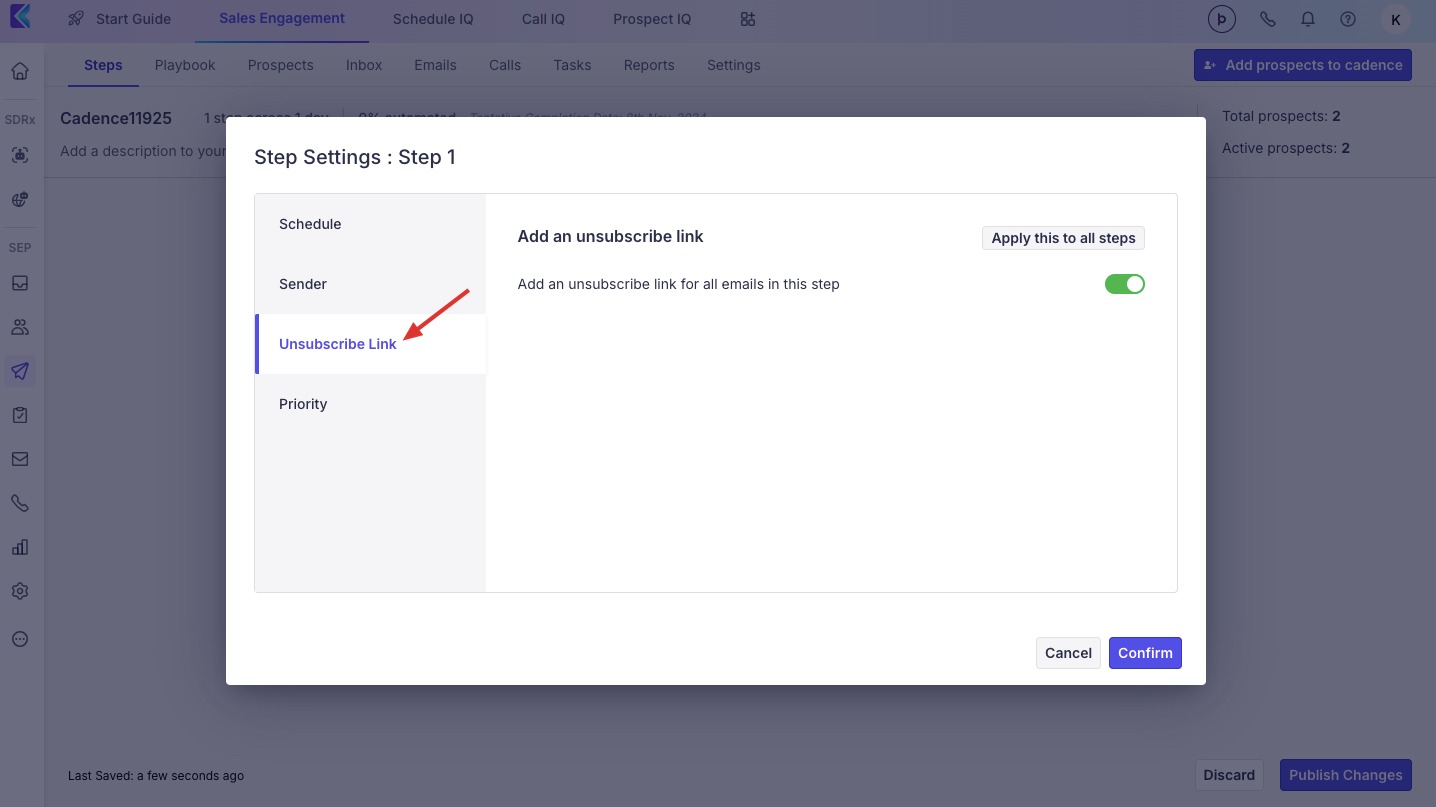
Unsubscribe Link-enabled by default; You can remove the check box if you don't want to include an unsubscribe link.
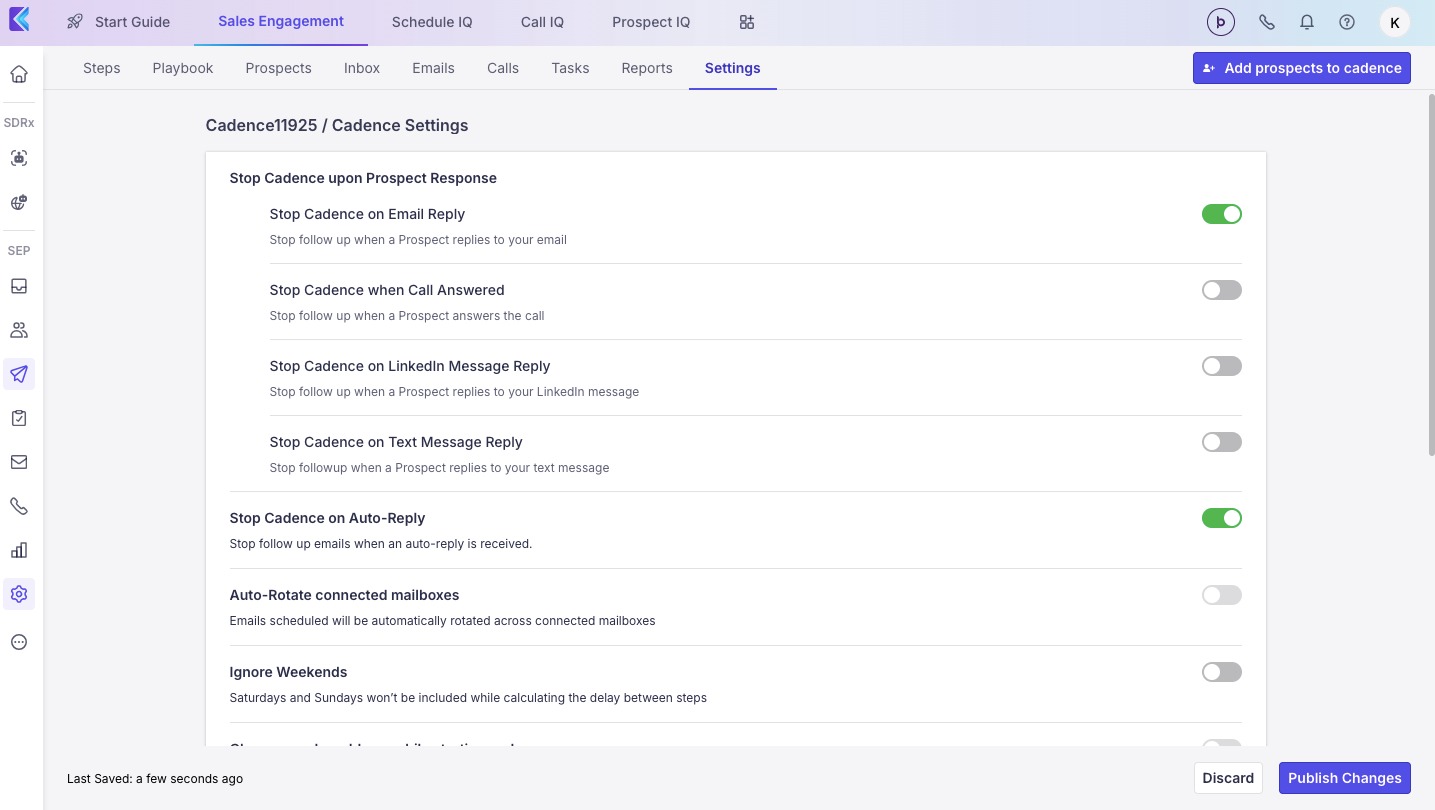
Stop Cadence on Reply – enabled by default; this option ensures no further follow-up emails are sent to a prospect that replies to you.
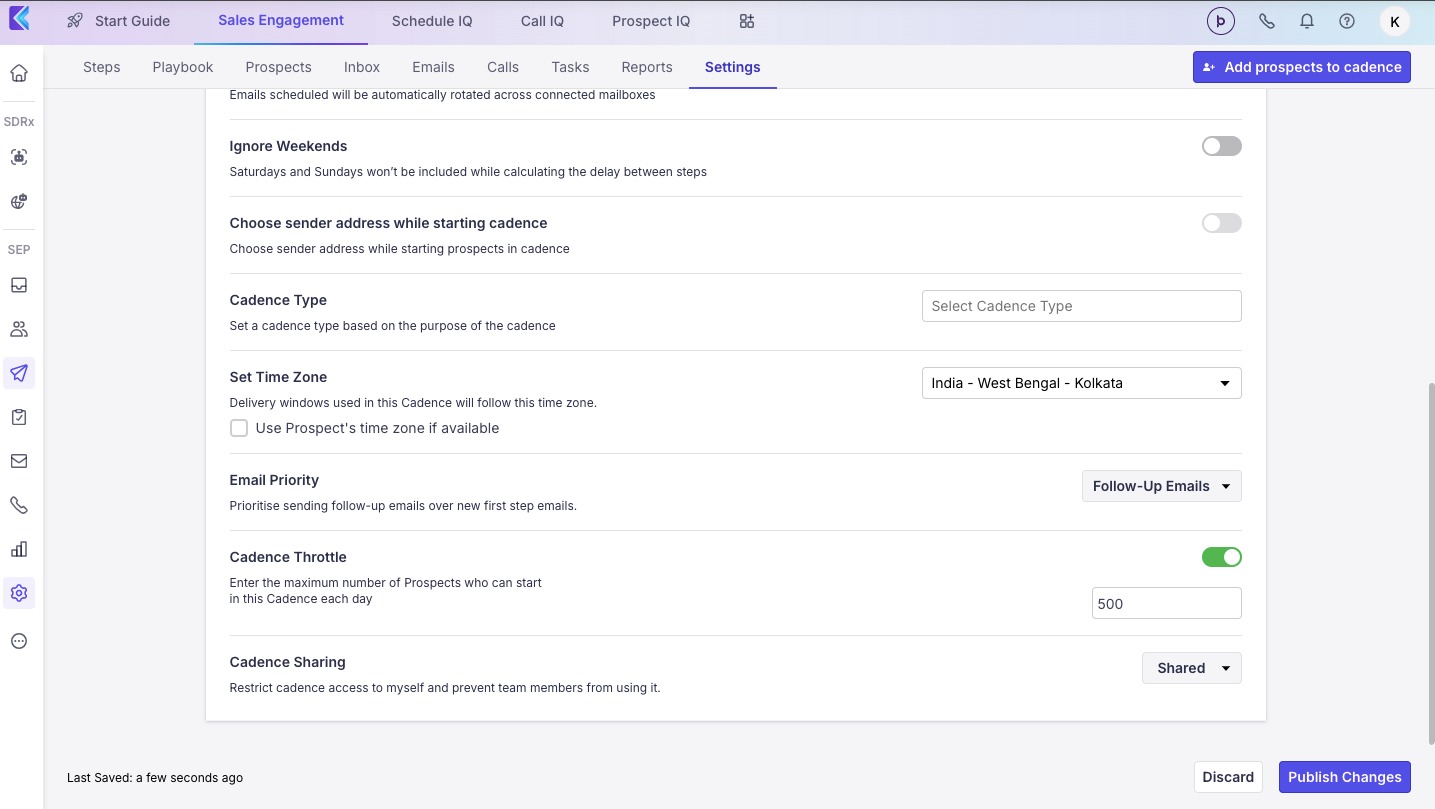
Set Time Zone – set a time zone for your cadence emails. The delivery window will follow this time zone.
Stop Cadence on Auto-Reply - The follow-up emails would be stopped when the mail is replied to by auto-reply
Email Priority - This helps to prioritize by sending follow-up emails over new first-step emails.
Cadence Throttle - By enabling the throttle, one can set the maximum number of Prospects who can start in the Cadence each day.

To create a cadence using Blueprint and compose with KAI- Click here.
